Choosing the best cryo freezer starts with one question: what must your lab protect? Cell lines, tissue samples, and other temperature-sensitive materials may need different storage conditions. Match the unit to validated sample requirements, not simply its advertised minimum temperature. A colder specification is not automatically a safer choice.
Cryobiologist Peter Mazur’s work informs a practical principle: protect sample viability before prioritizing extra features. This is a paraphrase, not a verified verbatim quotation. The distinction matters. Consider usable capacity, temperature uniformity, recovery after door openings, alarm access, and backup plans. Picture a busy laboratory: racks move, doors open, and staff need clear alerts when readings drift. Small details can shape daily reliability.
Compare the full operating picture. Check installation needs, service availability, energy use, and the time required to retrieve samples. Ask suppliers for performance data under realistic loading conditions, then confirm that the figures fit your workflow. A brochure cannot answer every question. Even a strong model may be a poor fit if its footprint blocks access or its alarms go unnoticed after hours. That deserves a second look. The selection process is rarely perfect; budgets, room limits, and future sample growth can pull in different directions. A careful comparison makes those trade-offs visible and helps your lab choose a cryo freezer it can operate and maintain reliably.
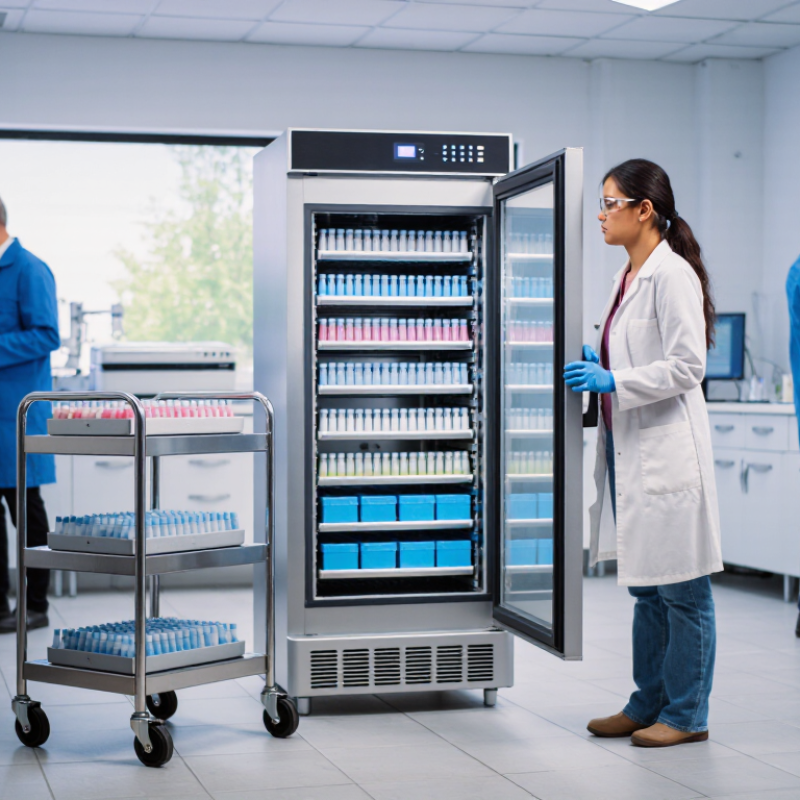
Start with the samples, not the freezer catalogue. List each material type, its required storage conditions, and the number of containers currently in use. Then estimate growth over the next few years. A freezer that looks spacious today may feel crowded after one new study. This estimate is easy to get wrong.
Measure the actual containers and storage boxes your lab uses. Note their dimensions, how often staff retrieve them, and whether samples need separate zones. Frequent access can make shelf layout and clear labeling especially important. Include space for incoming batches, quality-control samples, and temporary transfers. Leave room to work safely.
Check the required temperature range against your sample protocols and institutional procedures. Ask whether your lab needs continuous temperature monitoring, remote alarms, or backup power. Consider the room itself: door width, floor capacity, ventilation, and available electrical service can all affect installation. Record who will respond to an alarm after hours. It is also worth reviewing the plan with the people who handle samples daily; a spreadsheet rarely captures every awkward retrieval.
Choosing a cryogenic freezer starts with sample requirements, not the lowest number on a display. Mechanical ultra-low-temperature (ULT) units commonly operate near -80°C and use compressor-based refrigeration. Cryogenic systems use liquid nitrogen, either immersing samples or cooling them in nitrogen vapor. The NIST Chemistry WebBook reports nitrogen’s boiling point as 77.34 K, or -195.8°C, at standard pressure. Vapor-phase storage is commonly maintained below -150°C, but rack position and loading can affect actual temperatures. A colder label can still hide warm corners.
Compare how each system cools and responds to failure. Mechanical units depend on electrical power, compressors, and room heat rejection; check alarm coverage, backup power, and recovery after frequent door openings. Nitrogen-based units need reliable supply and replenishment. They may hold cold conditions through some power interruptions, but only while sufficient nitrogen remains. Not just setpoint. The ISBER Best Practices for Repositories, Fifth Edition (2023), emphasizes temperature monitoring, documented limits, alarms, and contingency planning. These are practical selection criteria, not paperwork.
Before choosing, estimate daily sample access and storage growth. Frequent retrieval can make rack layout and temperature recovery as important as nominal capacity. Ask for temperature-mapping results under realistic loading, then consider local service support and operating costs. Small detail. Big consequence. I would not treat this as a simple contest between -80°C and colder storage; the right method depends on sample stability and how consistently the lab can maintain it.
Compare typical temperatures across common sample-storage options. Choose a system based on required storage temperature, sample format, access frequency, and your lab’s safety and monitoring needs.
How to read this chart: The vapor-phase value shown (−170°C) is a representative point within a commonly used range of approximately −150°C to −190°C. Liquid nitrogen boils at about −196°C at standard atmospheric pressure. Mechanical ULT freezers commonly operate near −80°C; they are shown as a comparison and are not cryogenic freezers.
Evaluate Capacity, Temperature Range, and Sample Compatibility
Start with the samples, not the freezer’s advertised capacity. Count the boxes, racks, and containers you actually plan to store, then allow room for expected growth. A freezer that fits today’s inventory may feel cramped after one busy year. Leave space for airflow and routine access. Check usable capacity, since rack layouts can make the stated volume less practical than it sounds.
Match the temperature range to your sample requirements and written storage protocols. Do not assume every cryogenic unit operates at the same temperature or maintains it uniformly. Review temperature stability, alarm functions, and recovery after the lid opens. Ask for performance data under realistic loading conditions. Useful details matter.
Compatibility deserves equal attention. Confirm that racks fit your tubes or vials, and check whether seals and materials tolerate the intended storage conditions. Consider how staff will identify and retrieve samples while wearing gloves. If using vapor-phase storage, verify that the chosen position maintains the required temperature; conditions can vary within a vessel. A layout that looks efficient on paper may slow retrieval in practice. Compare the manufacturer’s specifications with your own sample inventory, and document the assumptions behind your choice. That estimate may be wrong. A small trial with representative containers can reveal awkward gaps before the freezer becomes part of daily lab work.
When comparing cryogenic freezers, treat safety features as a working system, not a list of options. Ask how the unit detects rising temperature, low liquid level, or a lid left ajar. Confirm alarm thresholds can be set for your sample requirements and alerts remain audible in a noisy room. Test the local alarm during commissioning; a quiet beep behind a closed door is not enough. Check whether alarms continue during power loss and what backup supply supports monitoring. Small details matter.
Review remote notification paths, including who receives alerts after hours and what happens if the first contact does not respond. A sensor reading should be visible without opening the freezer, since frequent access can add heat and handling risk. Look for time-stamped records, clear event histories, and a way to verify sensor calibration on a schedule. Ask staff to perform a mock alarm and document response times. It can feel routine. That is the point. Still, a checklist can miss human habits: someone may silence an alarm and forget to escalate it. Assign ownership, train backup responders, and rehearse the steps with gloves on. Choose a system your team can actually maintain, not merely one with the longest feature sheet.
Before choosing a cryogenic freezer, check the route from the loading dock to the lab. Measure doorways, lift capacity, ceiling height, and the final floor position. A full vessel can impose a substantial point load, so confirm floor capacity with facilities staff. Allow space for lid opening, service access, ventilation, and safe movement around the unit. If the system uses liquid nitrogen, include the supply vessel, pipework, room ventilation, and oxygen-monitoring plan in the installation estimate. Small oversight, large disruption.
Operating costs depend on freezer type and daily use. Lawrence Berkeley National Laboratory’s laboratory energy-efficiency guidance places a representative ultra-low-temperature freezer load near 20 kWh per day, or roughly 7,300 kWh yearly. This is a useful comparison, not a direct estimate for a liquid-nitrogen freezer; request site-specific electricity or nitrogen-consumption data. Multiply expected use by local utility or nitrogen-delivery rates, then add alarm monitoring, backup capacity, and any delivery fees. That estimate is imperfect.
Maintenance planning matters just as much as purchase price. Budget for scheduled inspections, temperature-sensor checks, gasket and lid-seal inspections, and alarm testing. Ask who responds after hours and how long replacement parts typically take to arrive. Record actual energy or nitrogen use after installation, then review it against the estimate every quarter. Real conditions can surprise you. A frequently opened freezer or poorly ventilated room may cost more to operate than the specification sheet suggests.