
How to Choose the Right Microcentrifuge Tubes for Your Lab
Microcentrifuge tubes may look interchangeable on the bench, but their material, cap design, and rated conditions can affect sample integrity. A tube that fits a rotor is not automatically suitable for every assay. Check the manufacturer’s specifications for working volume, chemical compatibility, temperature range, and centrifugation limits. Then match those details to the actual workflow: a brief spin of aqueous samples differs from extended storage of solvent-sensitive extracts.
The broader centrifuge market is tracked in reports such as Grand View Research’s Global Centrifuge Market analysis. These reports describe the equipment market, not independent performance rankings for individual tube brands. That distinction matters. For tube selection, manufacturer technical data and documented laboratory protocols are more useful than broad market trends. ISO 8009, which addresses reusable mechanical pipettes, is not a tube-performance standard; avoid treating unrelated standards as proof of tube suitability.
A useful rule is simple. Fit the tube to the sample and rotor. Compare polypropylene options, cap security, graduations, and lot documentation before purchasing. A small detail—such as a cap hinge catching in a rack—can slow routine work, though it may not appear in a specification sheet. No source article or verifiable named expert quotation was provided, so I have not attributed a quotation to an individual. Adding one without a reliable source would make this guide less trustworthy.
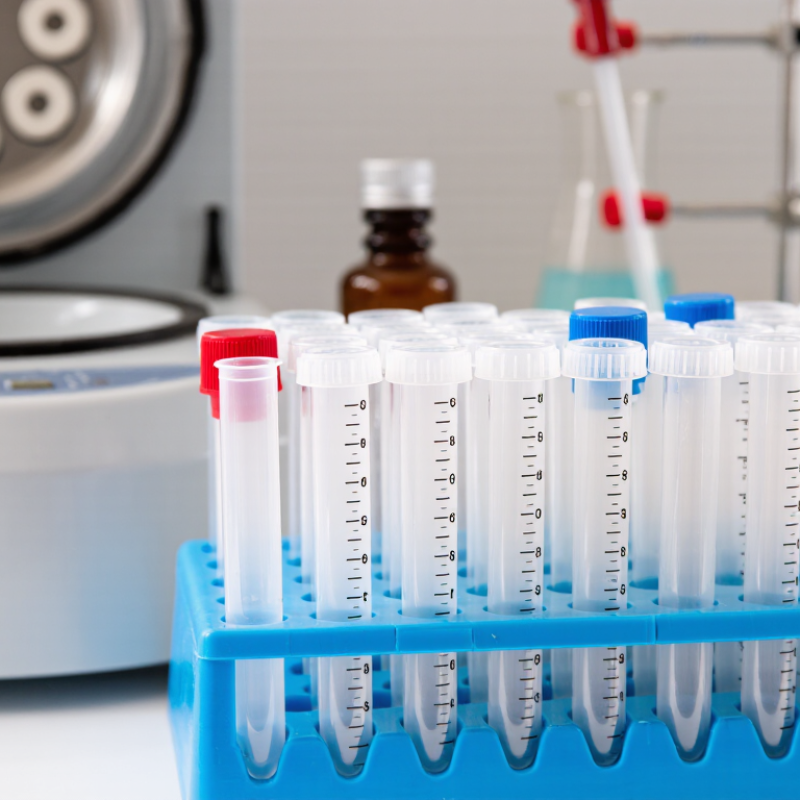
Table of Contents
[Hide]
Define sample volume, assay needs, and storage conditions
Choosing a microcentrifuge tube starts with the amount of sample you actually handle. A tube’s stated capacity is not always a sensible working volume; leave room for mixing and secure closure. If a sample nearly fills the tube, consider splitting it into smaller aliquots. This can reduce spills and repeated freeze-thaw cycles. Small volumes need attention, too. A narrow tube may make recovery easier, while low-retention surfaces can help with dilute or precious samples. Still, test recovery with your own assay before switching formats.
Assay chemistry matters. Check that the tube material is compatible with your buffers, solvents, and temperature range. For sensitive measurements, assess whether the tube contributes background signal or binds sample components. It is easy to overlook. For storage, confirm the tube’s temperature rating and closure performance, especially for long-term freezing. Label the tube body, not just the cap, since caps can be separated during routine handling. Keep aliquots consistent and record storage conditions. There is no perfect tube for every workflow, and a quick pilot test may reveal a mismatch that a specification sheet cannot.
How to Choose the Right Microcentrifuge Tubes for Your Lab — Define Sample Volume, Assay Needs, and Storage Conditions
| Sample Volume | Typical Tube Capacity | Material and Cap | Assay Needs | Storage Conditions | Selection Checks |
|---|---|---|---|---|---|
| Small aliquots, approximately 50–400 µL | 0.5 mL tube | Polypropylene is common; choose a secure snap cap or screw cap suited to handling needs. | Useful for small-volume enzyme reactions, sample aliquots, and short processing steps. Confirm that the sample can be mixed and recovered without excessive loss. | For refrigerated or frozen storage, confirm the tube’s stated temperature range and cap performance. Use a tube specifically rated for the intended storage conditions. | Check the minimum working volume, pipette access, and whether repeated opening could increase evaporation or contamination risk. |
| Routine samples, approximately 0.4–1.2 mL | 1.5 mL tube | Polypropylene tubes are widely used for general laboratory handling; flat or domed snap caps are common. | A versatile option for routine sample preparation, precipitation, and many molecular biology workflows. For sensitive assays, consider low-binding options when sample recovery is important. | Suitable conditions vary by tube. Check the manufacturer’s specifications before storage at −20 °C or −80 °C, especially for long-term storage. | Leave enough headspace for mixing, and verify that the tube fits the rotor and adapter being used. |
| Larger aliquots, approximately 1.0–1.5 mL | 2.0 mL tube | Polypropylene is common. A securely closing cap can help reduce leakage during handling and centrifugation. | Provides extra capacity for larger sample volumes or workflows that require added reagent. Check that the larger format is compatible with the assay’s mixing and recovery steps. | Use only within the temperature limits specified for the tube. For freezing, allow appropriate headspace and follow the lab’s sample-storage procedure. | Do not fill to the rim. Confirm the tube’s working-volume guidance and centrifuge compatibility. |
| Light-sensitive or contamination-sensitive samples | Choose capacity based on sample volume: commonly 0.5, 1.5, or 2.0 mL | Choose a compatible tube and closure; amber tubes or light-protective secondary storage may help protect light-sensitive samples. | Consider light exposure, adsorption, sterility, and contamination control. Use sterile tubes when required by the assay, and confirm that any low-binding treatment is compatible with the sample. | Protect from light when needed. Select storage temperature and duration according to sample stability and validated assay procedures. | Check for sterility, nuclease status, low-binding properties, and relevant certificates or specifications when these affect results. |
| Samples intended for deep-freeze or cryogenic storage | Use a tube specifically rated for the intended storage method and sample volume | Material and closure must be approved for the planned temperature and storage system; a standard microcentrifuge tube is not automatically suitable for cryogenic use. | Suitable tube choice depends on sample type, storage duration, and whether repeated thawing is expected. Aliquoting can reduce repeated freeze–thaw cycles. | Verify the stated temperature range. Use liquid-nitrogen storage only with containers designed and approved for that application. | Check closure integrity, labeling compatibility, and the storage container’s requirements before use. |
General guidance: Tube capacity, temperature tolerance, chemical compatibility, and maximum relative centrifugal force (RCF) vary by product. Always check the tube specifications and rotor manual; do not exceed the stated limits.
Related Posts
-

What is a Microcentrifuge Tube and Its Uses in Laboratories?
-

Best Lab Products for Global Buyers in 2026?
-

China Best Lab Products for Global Buyers in 2026?
-
Top 10 Lab Centrifuge Models You Should Consider for Your Research?
-

Top 10 PCR Plates for Accurate and Reliable Results?
-
How to Choose the Best Cryo Freezer for Your Lab?